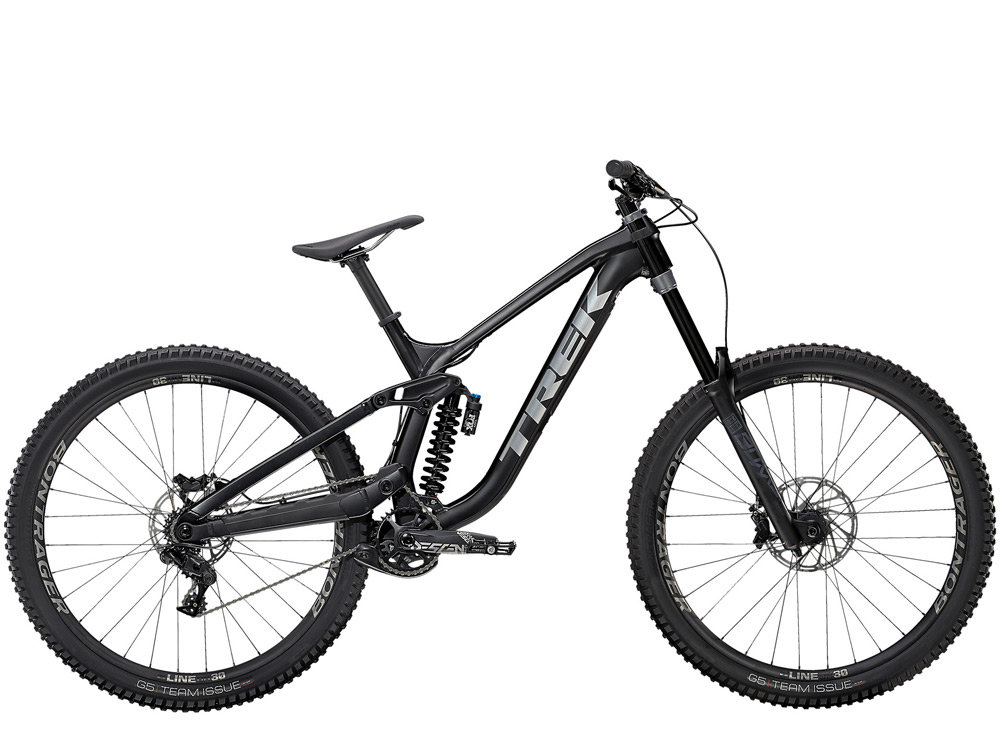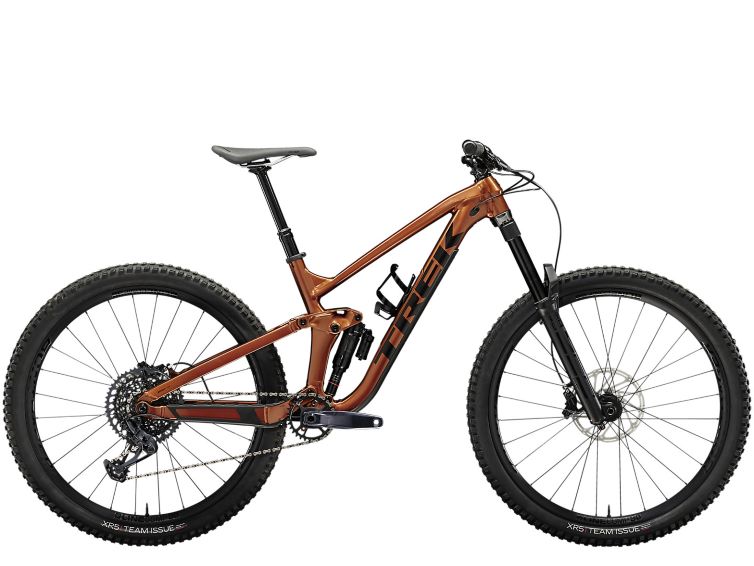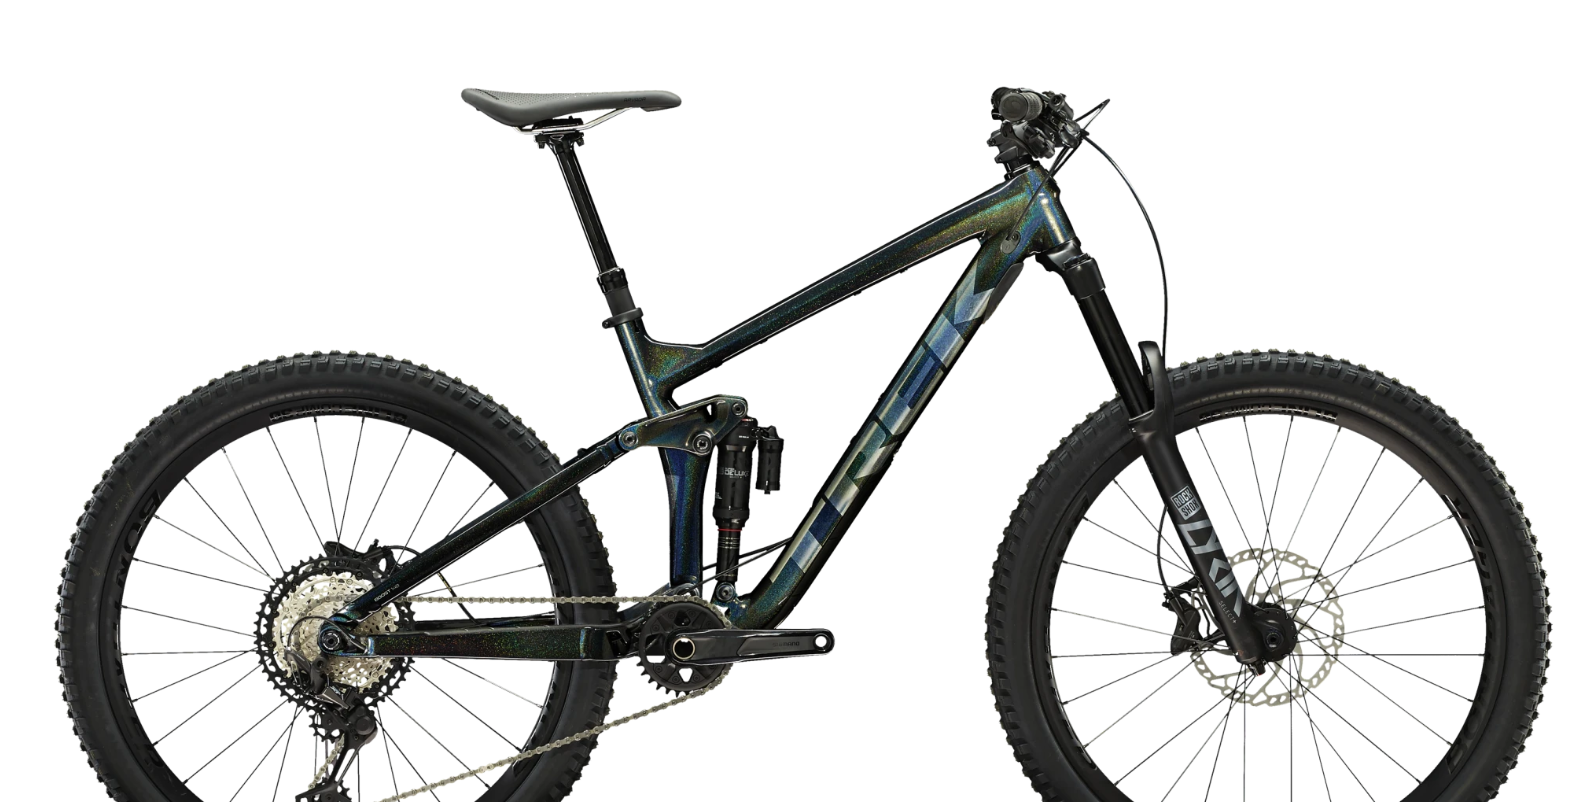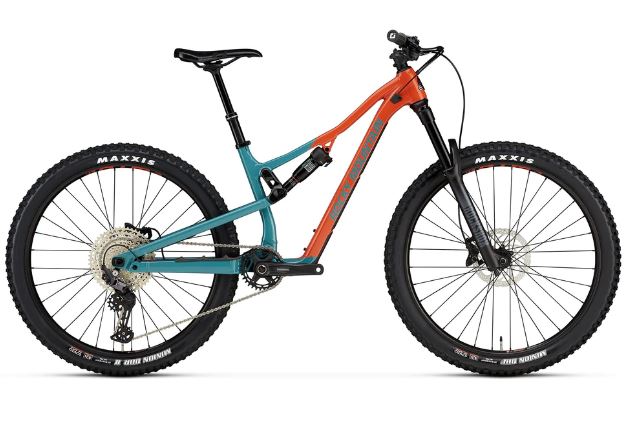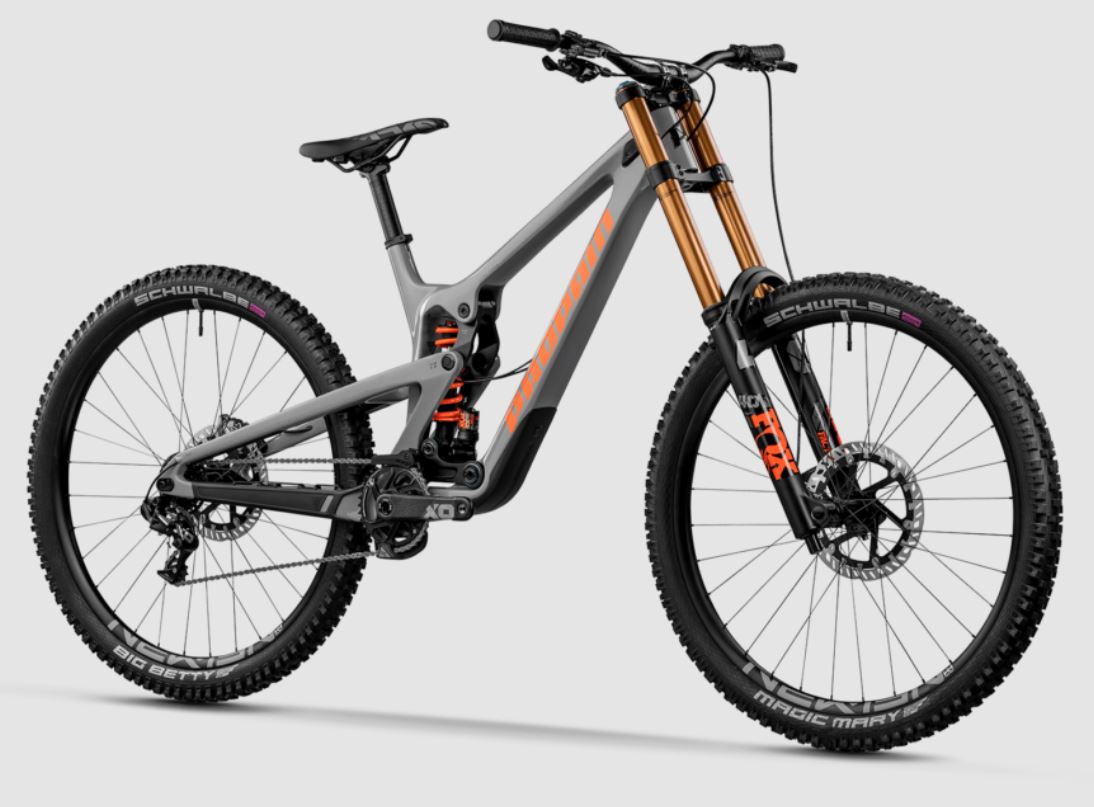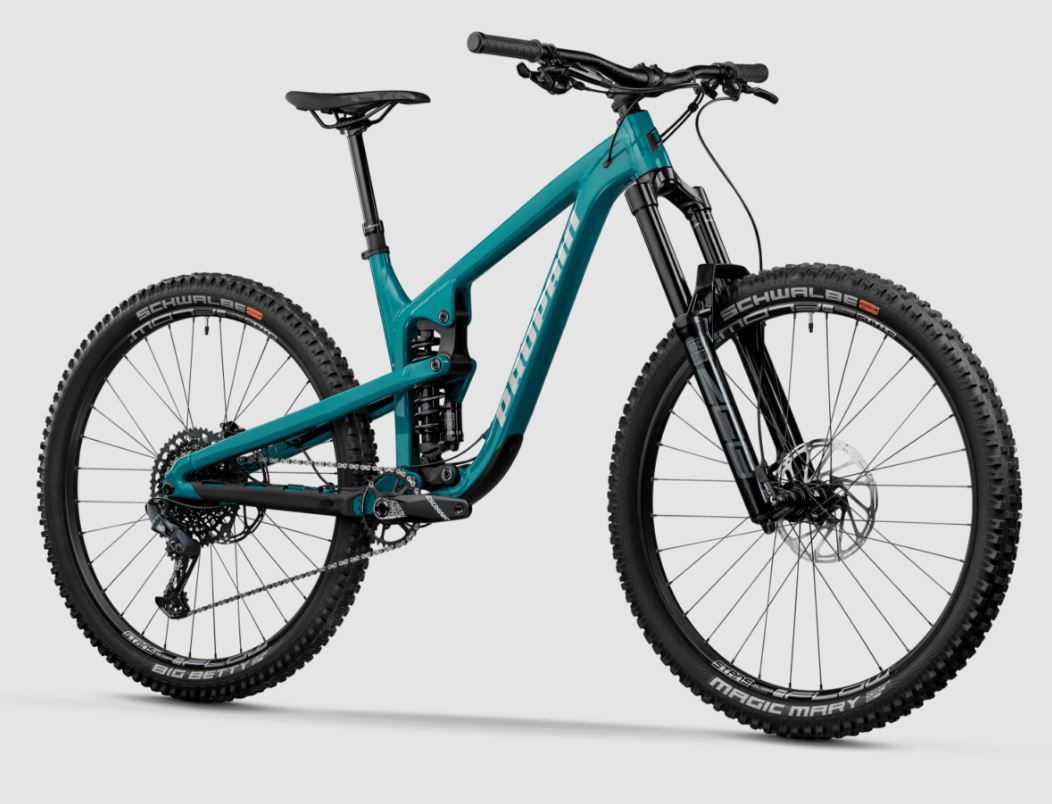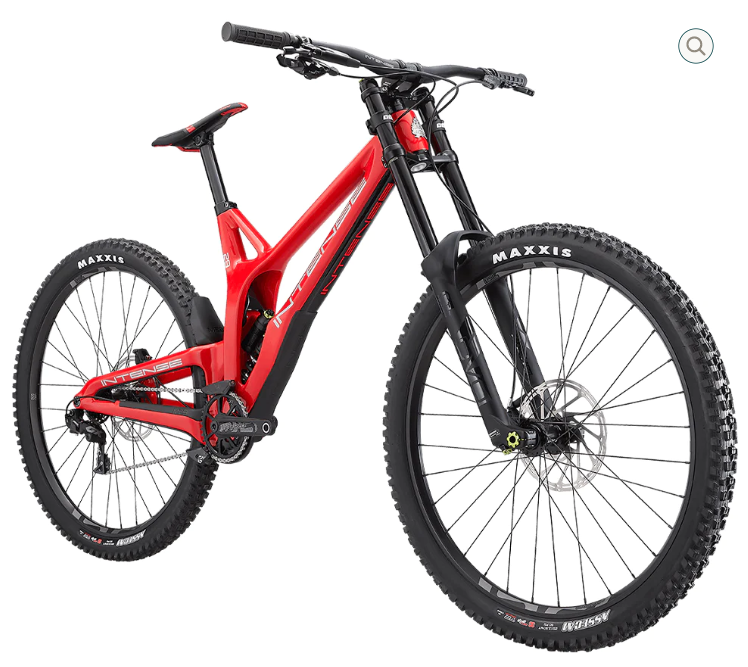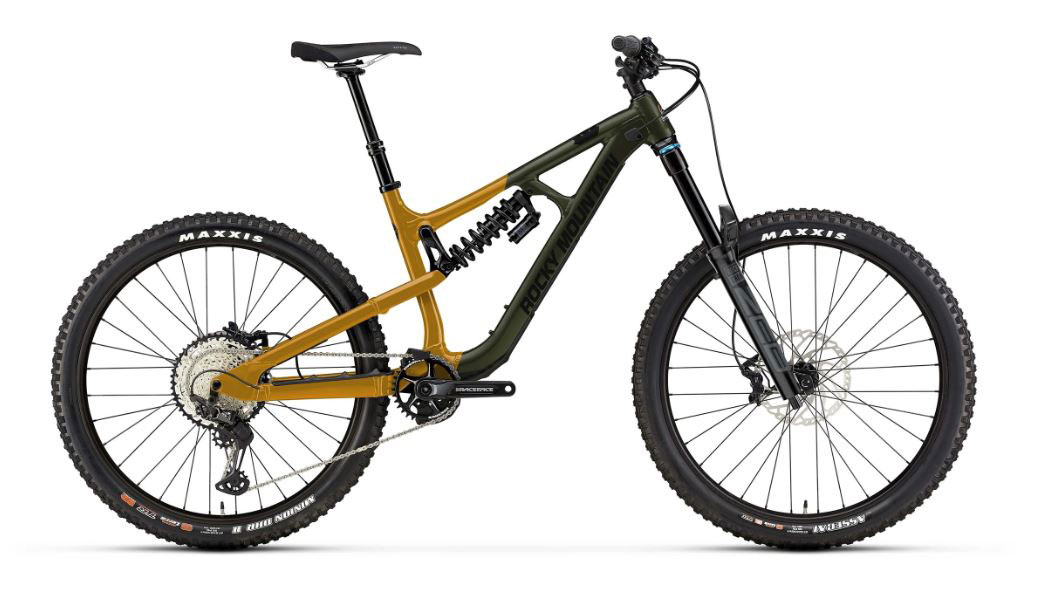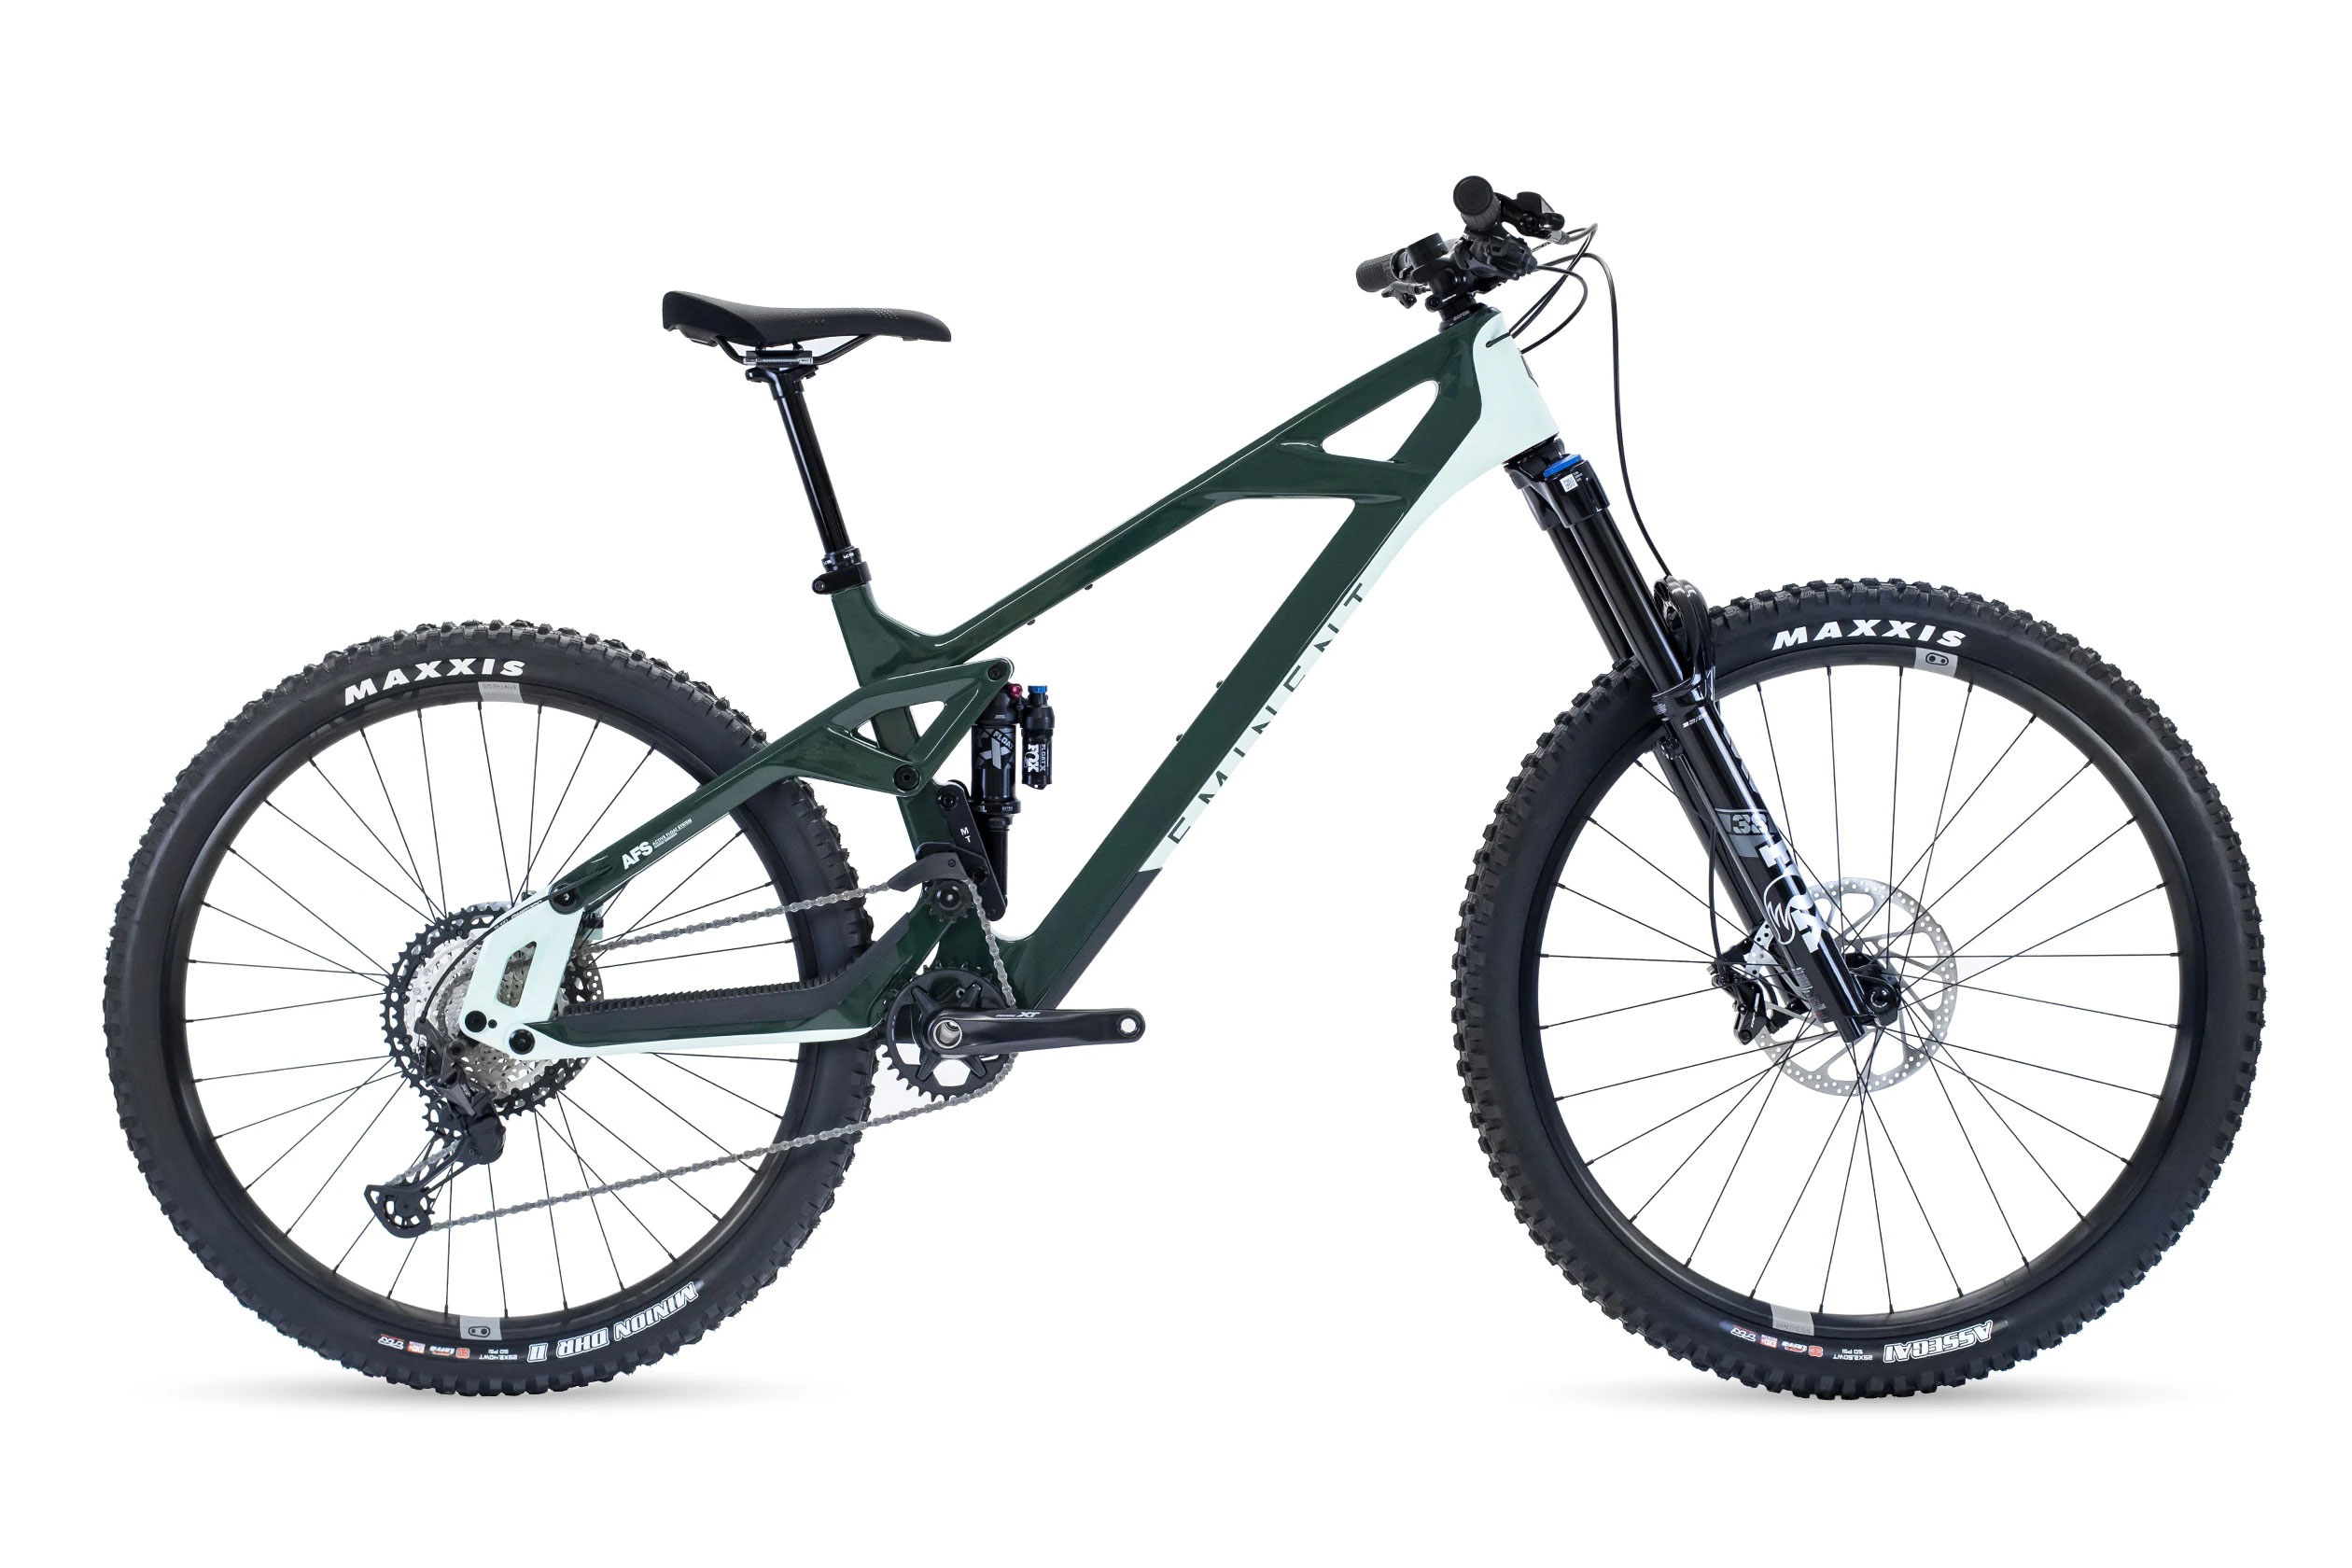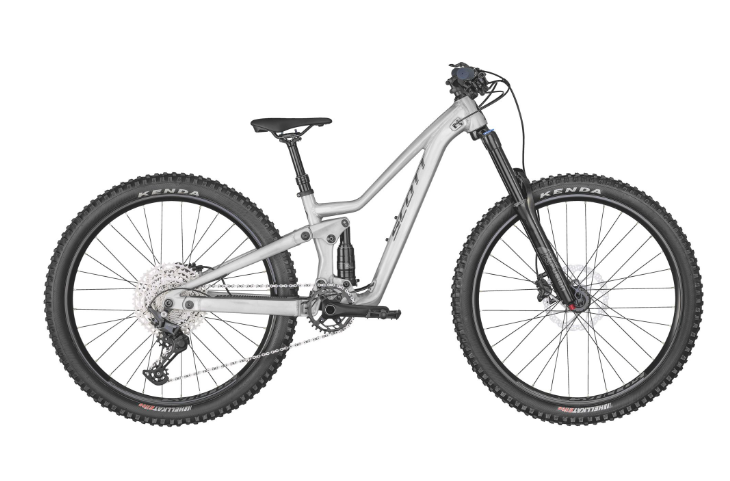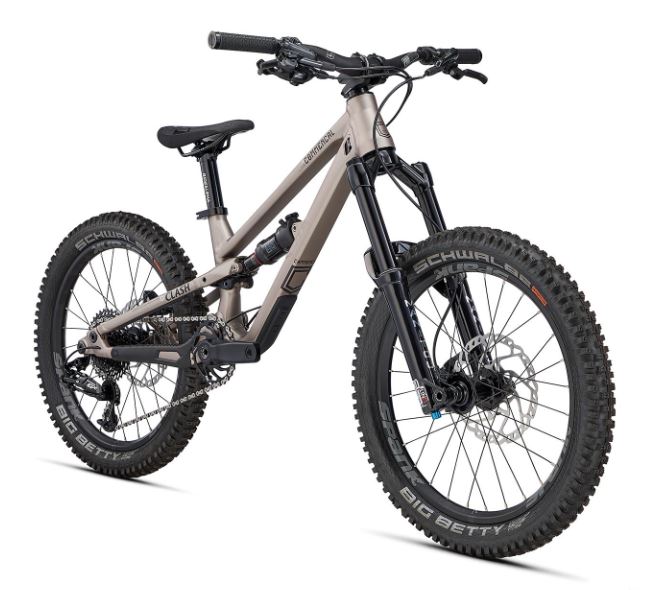
Frame
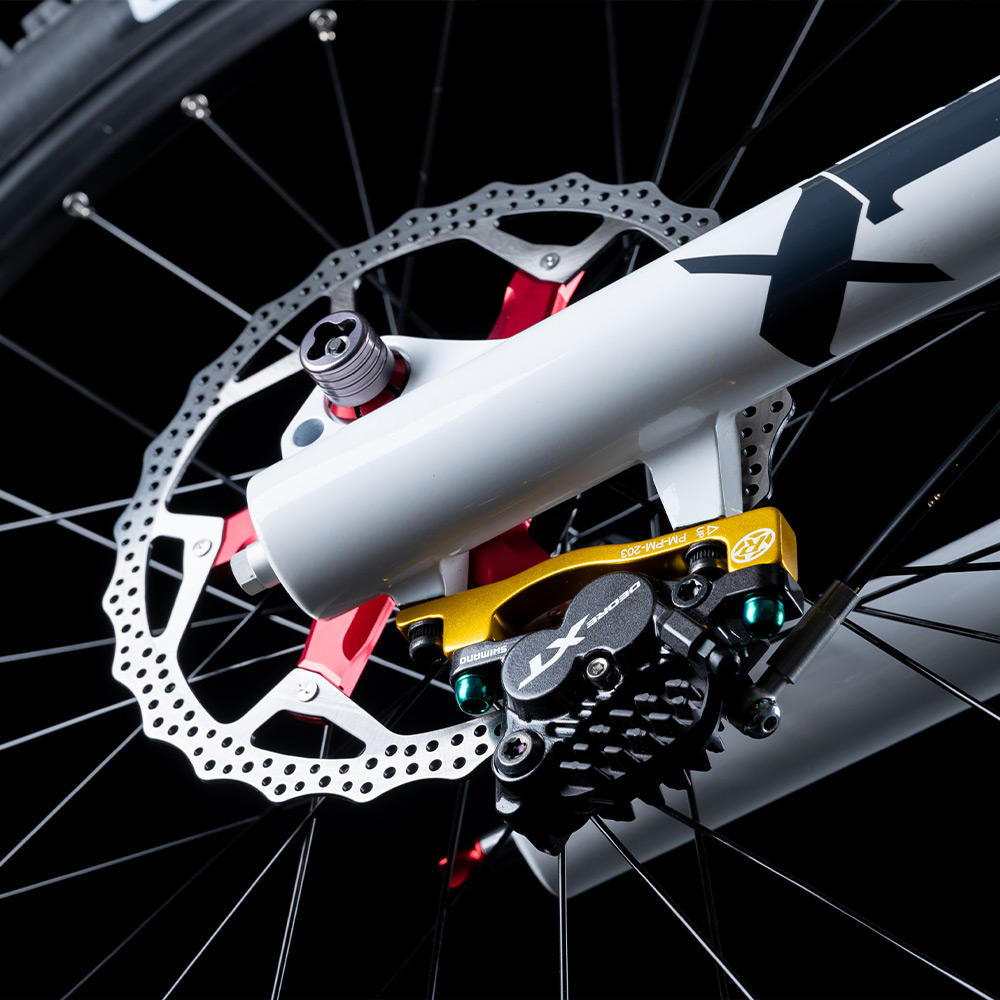
Brakes
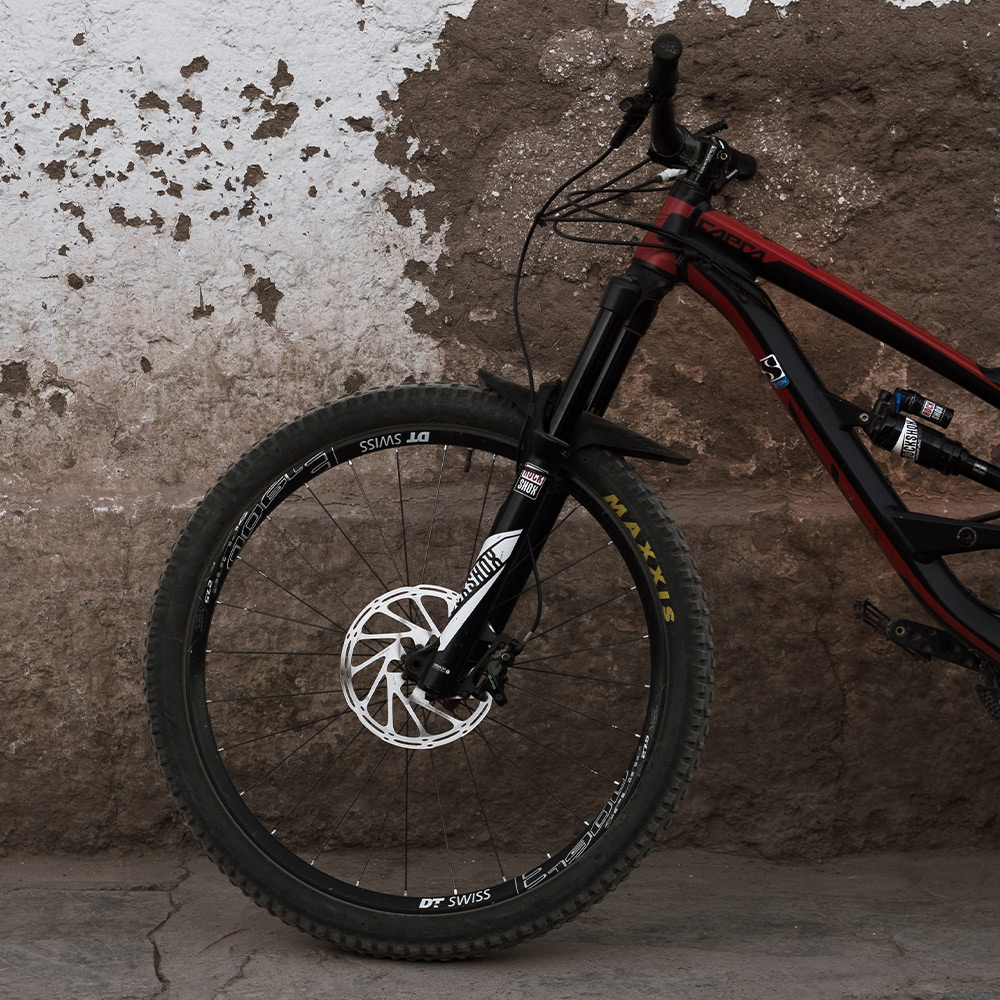
Suspension
Cranks
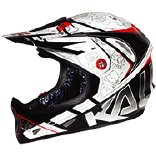
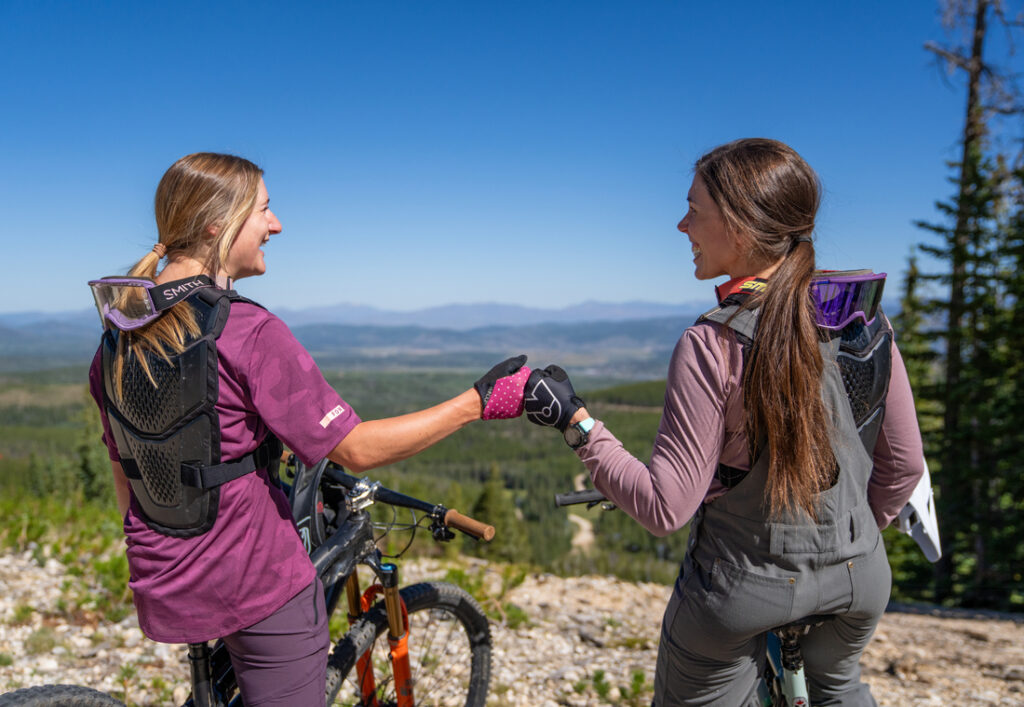
Helmet - Mandatory
A full face helmet will help protect your face and teeth in a fall.
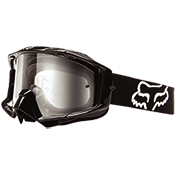
Goggles - Highly Recommended
Protective goggles help protect your eyes from branches, rocks and other objects.
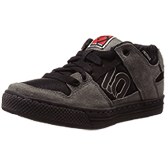
Closed Toe Shoes - Highly Recommended
Closed-toe shoes help prevent you from slipping off the pedals and protect your feet. Shoes with flat soles will have the best grip.
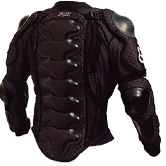
Upper Body Armor - Recommended
Body armor is a vest that protects the torso (back, chest, and abdomen). Long sleeves are recommended. Neck braces are also available.
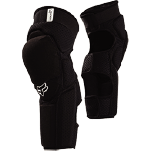
Knee/Shin/Elbow Pads - Recommended
Pads are worn on knees, shins, and elbows. These are often hit first if you fall.
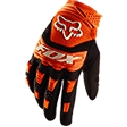
Gloves - Recommended
Full-finger gloves will not only help protect your hands, but also give you better control of the bike.

easiest
Trails designed for beginner Bike Park Riders. Expect smoother, wider surfaces with shallower trail grades than more difficult trails. These trails contain gentle corners and rolling terrain. Some beginner trail sections include technical or naturally-occurring terrain such as small rocks and tree roots. You may also encounter freeride or man-made enhanced terrain such as wider bridges and small rollers, jumps, and berms.
Intermediate
Trails designed for riders who have mastered all beginner trails. On blue terrain, riders can expect both smooth and rough surfaces on more steep terrain. You may encounter technically or naturally occurring terrain such as large roots and rock features. Freeride or man-made enhanced terrain exists as well including larger corners, big rollers, and medium jumps. Blue terrain features intended for progression to advanced skills include raised structures, bridges, wall-rides, and small gaps, which require jumping skills and speed.
More Difficult (Advanced Intermediate)
Trails designed for riders who have mastered all blue trails, but who are not quite ready for blacks. These intermediate-advanced trails are perfect for a gradual progression with freeride features such as medium-large jumps, drops, and gaps, which require jumping skills and speed; and with technical features such as large naturally-occurring rocks drops, rock gardens, and tree roots. Expect to find large bridges, wall-rides, and terrain features that will help a rider progress to be to ride black trails as well.
Most difficult
Trails designed for riders who have mastered all blues and blue-black trails. These advanced trails have large freeride features such as large jumps, tall drops, and wide gaps, which require advanced jumping skills and higher speeds. Technical, or natural, obstacles that can occur include large downhill rocks steps and rock gardens, and naturally occurring large difficult to navigate tree root sections. Expect, as well, to find larger raised structures such as bridges and wall-rides.
Expert Only
These runs are for expert riders who are comfortable on blue/blacks and looking to push themselves. Trails will have steep terrain and require jump skills and expert bike handling at top speeds. Suited for the expert riders only.
Pro Line (Banana Peel)
Most difficult technical terrain on the mountain mixed with freeride features. Proficient handling of all bike skills required. Largest gaps and mandatory jump features. Expert jumping skills required. Suited for highly skilled expert riders only. Liability release and separate Pro Line Pass required.